|
|
|
|
|
Home
|

|
Geometric Canes page 4 |
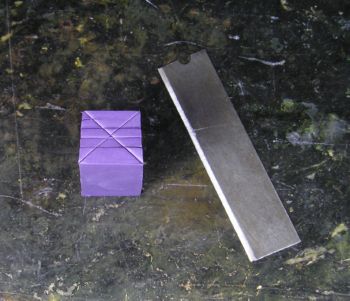
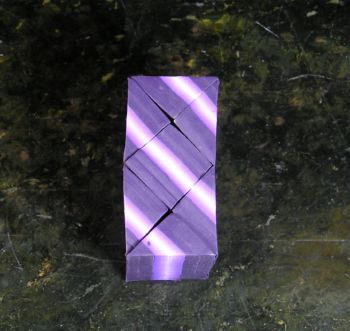
| Step 31 For the next cane, prepare a square cane of the background color the same size as the other square canes made in Step 23 (a stack of 5 sheets, thickest setting, slice using the method in Step 22). |
|
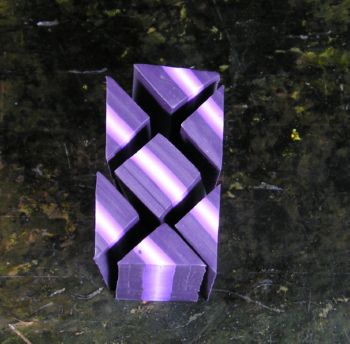
| Step 32 Stand the cane on its end and slice down through its length across both diagonals of the square face. When making the second cut, try to keep the two pieces produced from the first cut together. The best result is obtained if the cane is chilled. |
|
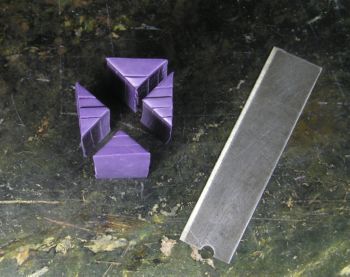
| Step 33 Arrange the pieces as shown with two pieces obtained from Step 27. |
|
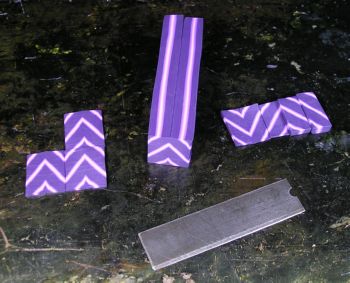
| Step 34 Join the pieces to obtain a "zig zag" cane. |
|
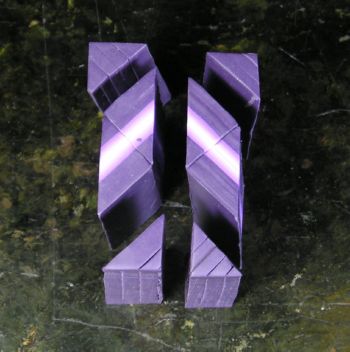
| Step 35 For the next cane, use an uncut cane from Step 23, and combine it with the pieces from three sliced canes made in Step 24. |
|
| Step 36 Join the pieces to obtain a "diagonal striped" cane. |
|
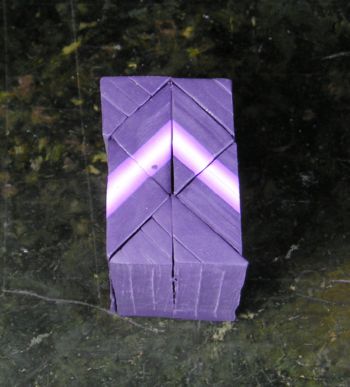
| Step 37 For the final cane, carefully reduce the "diagonal striped" cane obtained in Step 36. |

|
| Step 38 Reduce to obtain a cane at least 4 inches long after trimming away the distorted ends. Cut the cane in half. |

|
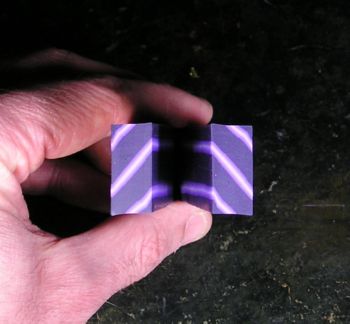
| Step 39 Carefully join the two halves as shown, aligning the pattern down its length. |
|
| Step 40 The result is a "zig zag stripes" cane. |
|
| In this tutorial, a simple ingot of stacked clay sheets was used to make a series of more complex canes. The methods presented in the tutorial can also be applied to stacked ingots of your own design to obtain a limitless number of patterned canes. Have fun experimenting! | |
| Back to Page 1 |